Showing posts with label linky. Show all posts

Thursday, December 20, 2012

Homefront: Christmas Tour of Homes 2012

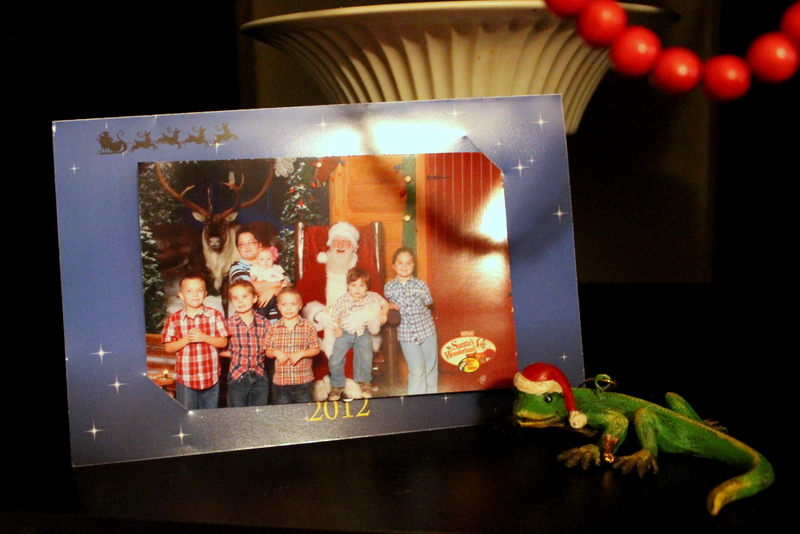
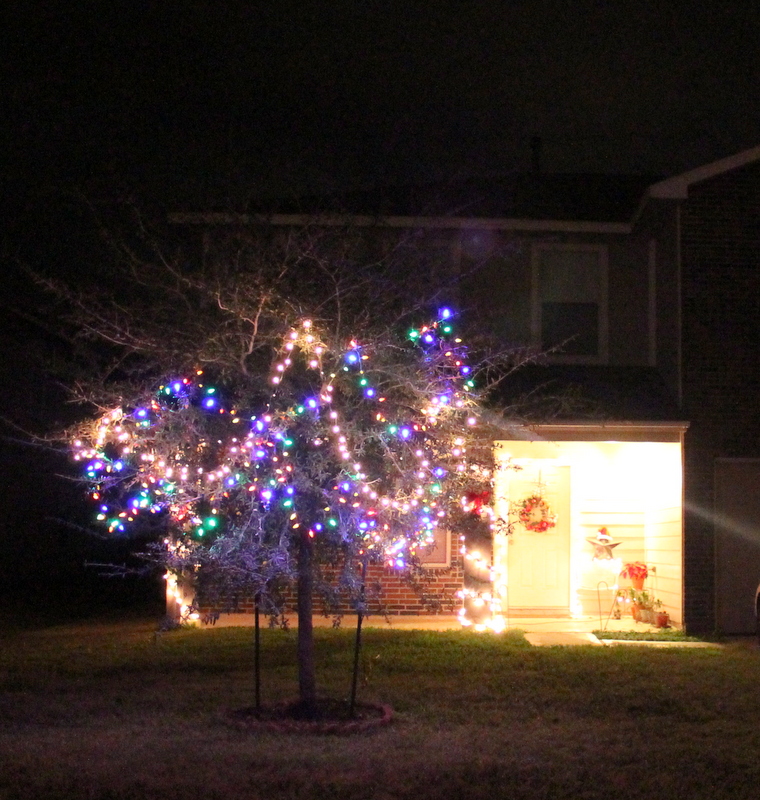
I changed my long and narrow living room layout to three separate areas from the two I showed last week.  so this is a little teaser. More on that in another post though, because today is Nester's Christmas tour of homes, and I finally feel festive!
 Isaac is in first grade, and he wrote me a beautiful story of his Christmas plans!
 
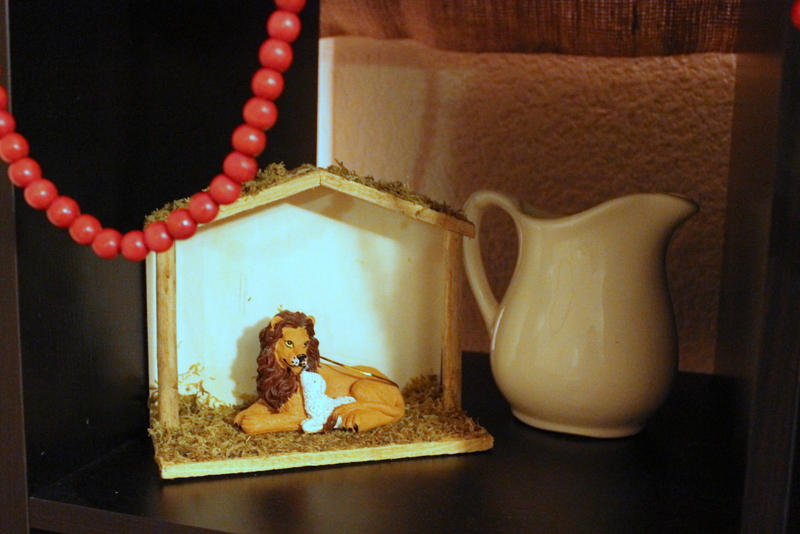
Until I find my mini nativity pieces, the lion and lamb ornament will keep this cute stable company.

 
 The candle is an advent candle. You burn it one dot each night, until Christmas Day it is down to the last dot. I love this book, A Special Place for Santa. For those who struggle with meshing Santa and Christ together, it tells a lovely story of the historical Santa, and how he ties into the Christmas story.
 We made festive, candied, chocolate dipped stirring spoons for hot chocolate or coffee for the kids teachers. Check out the tutorial, they are so easy and yummy!


2012 Christmas Tour of Homes via The Nester linky party 

Pin It
signature lisa 180x80 180ppi

Friday, July 22, 2011

Homefront: Spray Painting an Upholstered Chair Makeover

After reading Little Green Notebook's fabric spray painting adventure, I automatically went and ordered their upholstery spray paint (on ebay from Tie Dye Girl because it was a tad cheaper). I used a total of two cans on this chair, but I still need one more can because I didn't get the back of the cushions yet, and there are a few more spots that need touch ups. So, maybe two more cans. Which says a lot about me, because on their site, they demonstrate on a whole couch with only 6 cans. (But, I don't recommend for a huge couch. Also, if the fabric has a pattern on it, the pattern will show throguh just a tad. It still wouldn't be as ugly though, but a nice monotone pattern color.)

Our friend gave us this chair, and I actually love it. It's huge! But, I am not a fan of the colors, plus my boys have stained it so badly. I've been covering it with my wonderful vintage granny square afghan, but now that is being torn apart and will need repair. I've wanted to slipcover the chair, but I don't sew, nor do I have a staple gun... though the Hello Giggles girls have a cute alternative requiring fabric and safety pins that I may try later.

The hubs kindly volunteered to help.

I'm rocking an all black outfit, turned inside out, just in case. My toes didn't escape the paint, however.

The neat thing about this paint, is it can be worked and smoothed into hard to get areas with a cloth.

The drips are easily wiped off with a damp rag. I will be sanding the wood down and painting it white later, so I'm not too upset about any paint that remained.

And, because my nail polish got destroyed by paint speckles, I gave them a little gun metal finish. (Yes, I am aware I have a disfigured toe, you can't see it, but that toenail is painted too!)

For my little dream catcher piece, it's just a cheap canvas with a Dollar Store dream catcher pinned on it. I put foam poster board on the back of the canvas for pinning different objects to my canvases when I tire of them. Like my ephemera canvas art tutorial here.

Look, my painted armiore, I don't think I've shown that yet! It still isn't finished ;)

linked to:
Chic on a Shoestring Flaunt it Friday.
Shabby Chic Cottage Transformation Thursday 
Fingerprints of the Fridge Feature Yourself Friday
The DIY Showoff
I Heart Naps Sundae Scoops
Sugar and Dots What I Whipped Up Wednesday
(not at Frugalicious Friday's Linky, but had to share anyways) 

Thursday, June 9, 2011

Personal Style: Retrofitting a Batman and Robin T-Shirt


Behold my Batman and Robin tshirt. One of my very first thrifted finds ever,  from yeeaaarrsss ago. My trusty, (nearly) vintage, Chris O'Donnell as Robin ringer tee. The one that always invokes questions from my 5 year old such as, "Is that a boy shirt?" "Why you like to wear that?", "Can we get daddy one?", and so forth.

I like to usually wear the tee like below, but I wanted to snarf it up a bit, so I added this little gray shrug, and smokey eyes. I think it's kind of cute, different, and unexpected.

These jeans have some spandex in them, so I must wear a belt otherwise they keep sliding down. But, I am fresh out of micro black belts and didn't want a gigantour buckle poofing out of the middle of my shirt, so I belted it to the side. It makes for a much better silhouette. Because belt buckles that look like a gut under your shirt is not winning.

The only danger, is random males will comment on any lady wearing a comic type tshirt. Like the magazine salesman guy my kids let in whilst I was telling them to pretend we weren't home. He also complimented my garden gnome.... I think he just wanted a sale. Too bad for him that I don't need any overpriced magazines!
 
*linked to clothed much's rule breaking monday.

Friday, May 6, 2011

Sweet Treats: Chocoley Chocolate And Candied Apples

 
I love chocolate, but don't know a thing about using it. So, when Chocoley sent this amazing kit in exchange for a review, I was totally delighted. It came with tons of goodies I can't wait to try, but here are some of my favorites for now. They also sent me tons of information on how to actually use it. I can tell you, I typically burn chocolate while melting, but this melted so smooth and was very easy to use, and it was a rich, gourmet flavor and texture, unlike other brands of melted chocolate I have used. My readers will receive a discount and a free candy making course, so keep reading for details.


They have so many chocolate products, but I love their dark chocolate (great for snacking when no one is looking). Also, their drizzle Cocoa Lava is amazing too, and they give lots of fun ideas on how to use it.

 My first ever chocolate confectioneries.... so easy and delicious.


First, I used their Caramel Cream Center (and kosher dairy) and Vanilla Cream Center (and kosher dairy) to make these candies. I just rolled them up, dipped them in melted Bada Bing Bada Boom Dark Chocolate Candy Melts (which are also celiac safe/egg free and peanut/tree nut free). After I dipped them, I laid them on wax paper to dry. Then, I melted their Drizzle and Design White Chocolate and drizzled it on. On some pieces, I dabbed a cute little sprinkle polka dot.


Then, I made these candy apples. I have never made candy apples before. It was relatively easy with their directions. I just melted the caramel (about 1/2 lb for 45 seconds) and dipped my cleaned/dried apples. After the caramel hardened, I dipped in melted chocolate and added sprinkles, walnuts and drizzled white chocolate. I so wanted to add mini marshmallows, but I was out. Wouldn't they make super cute Mother's Day gifts... or party favors?


Little Lovables readers get a 15% discount on your first order (excluding tempering machines, shipping, airbrush equipment and sale/clearance items.) Enter coupon code LITTLELOVABLES15 and it expires 5/20/2011.

Also, you can sign up for a free 7 day email chocolate candy molding course, information here.

Be sure to join the community, they have tons of videos, recipes and tutorials, like this chocolate bark and cookie dough balls.

chocoley.com 
facebook.com/bestchocolate
twitter.com/chocolatesupply

*Linked up to Sweet as Sugar Cookies Saturday Sweets Linky.
*Linked to Little Brick Ranch's Foodie Friday.
*Linked to Remodelaholic's Recipe Sundays.

Related Posts with Thumbnails