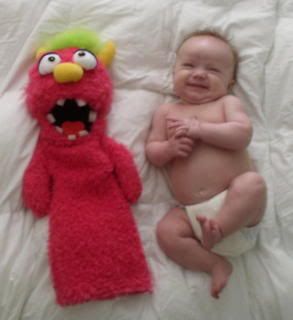
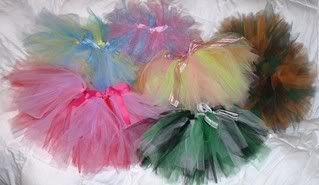
I do a lot of custom orders for tutus and such... so usually my customer appreciation picture I leave in the feedback is a picture of their finished item.
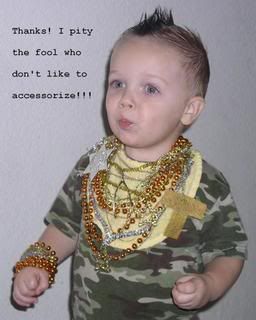
But since I have been selling more of my premade goodies, I decided I needed a good fixture for the pic. It's my kiddo on Halloween as Mr.T !!
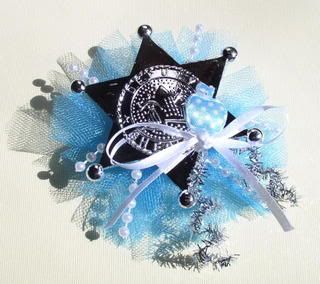
The package of stars I bought for his costume inspired this Fashion Police brooch :)
Thursday, February 28, 2008
Puppets!!
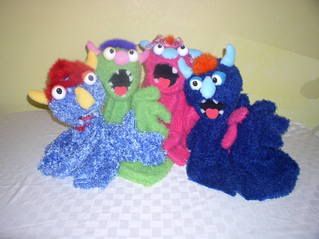
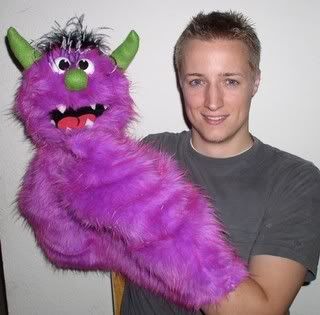
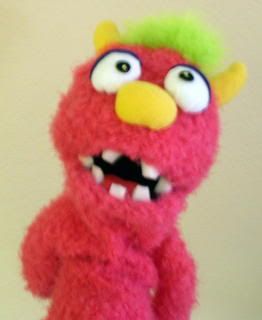
I have been making my glove puppets as custom only on Etsy... but I know as a buyer myself, I prefer to buy something outright, so I have really been needing to get these puppets ready and in the shop. So, my wonderful sister, BumblebeeBaby sewed up several puppet bodies for me (I create the patterns, and she sews them up in exchange for me doing her hair ;) so now I have a stash of blank puppets to work on! They sale really well at craft fairs... mostly I think because my sweet hubby walks around with one talking to people. They eat it up!
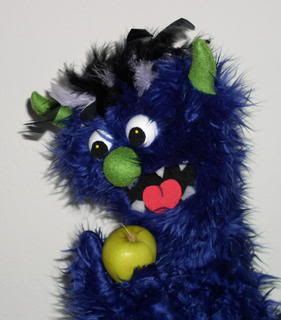
So here is my new hand puppet! The larger glove puppets are sooo fun, but a little more expensive and require both hands to use. These smaller hand puppets are great for kids for imaginative play and teachers to use in the classroom, because they can still use their other hand to write on the board, lead the music, point to pictures... I can't wait to get the other colors and varieties available!
What's in a Color?
"How I got my Stutter" by Madelaine
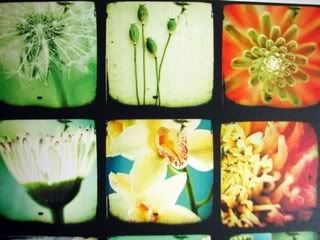
"Lovely Through The Viewfinder 12 Sticker Sheet" from Scarlet Beautiful
The hubster and I were folding laundry today (yes, he's a HUGE help!!), and I started to notice I was surrounded by one color... I looked at him and said,
"What's my favorite color?"
He said, "That's easy, gray and green."
I looked around and thought... hmmm, I think he's right. I had just put the 5th green shirt and about the 4th gray shirt on a hanger. Our sheets and curtains are green, my blog is green, everything I paint is green and I dress my boys in green. Seriously though, is there anything more comfortable than a nicely fitted heathered gray or green cotton jeresy?
Not crayon green... but lovely shades of celedon, mint julep, olive, apple, lime, kiwi, emerald, patina, verdigris, jade, forest and army... pretty, lovely, muted greens.
I looked back into my life and realized that my comforters and pillows have always been green. Sometimes, I will try and break out of the box and do something different, but it just doesn't feel right, so I go back to green.
Funny, I just looked down and realized I'm wearing green velour-ish pants. My husband sings me "It's not Easy Being Green" in his amazing Kermit the Frog voice, and it makes me happy!
Everyday Moments' "Spring Will Come"
Wednesday, February 27, 2008
Sugar Rush Party!!!
Our home has always been rustic, aged brown iron, burgandy couches, primitave and such... but we got new (hand me down) couches, that allow me to express my inner cottage style! My poor husband will be living in a frilly bed and breakfast before he knows it. Poor guy, I keep his Godzilla lovingly displayed for a touch of manliness.
I have quite a few favorite shabby chic sellers on Etsy, that I will have to post soon, but I came across this cake tonight and fell in love! It has me thinking, what would make a cute little Etsy sugar party??
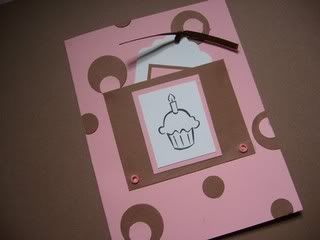
I would use sweet invitations from Kreative Kelors
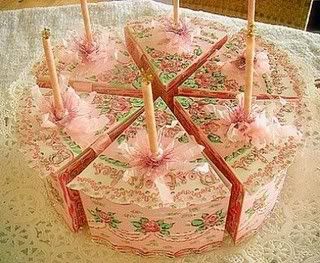
You can either get the whole cake, or just a slice, it's absolutely delicious from Moth to a Flame Studio
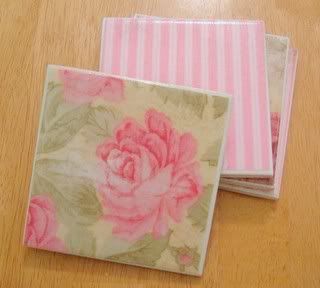
Those cute cake slice favor boxes would be so pretty set on a table with these coasters from my wonderful real life mamacita, Pretty Nifty
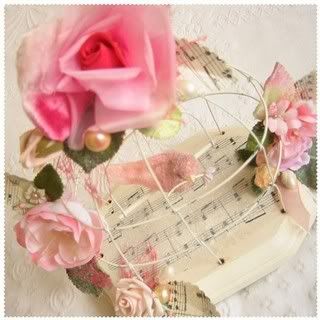
An adorable bird cage could be the centerpiece from Birds of a Feather
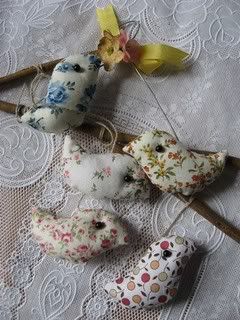
And another little mobile would hang on the door to greet all my lovely friends from Mykonos
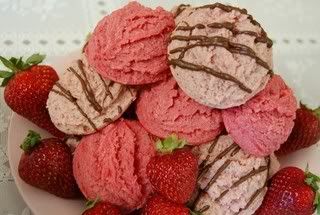
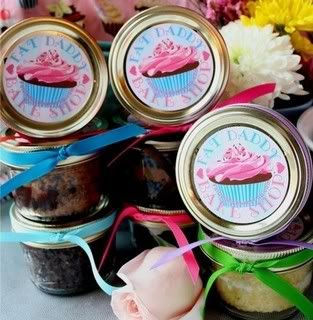
You can't forget the sweets! Cookies from Ulljas and sweet cupcakes in adorable tins from Fat Daddy Bakeshop
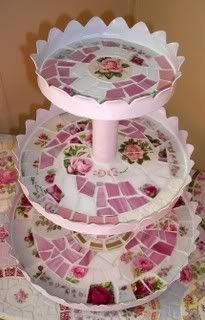
YUMMY!!! They would have to be lovingly displayed on this sweet stand from Hillspeak
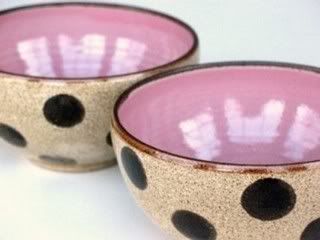
Strawberry sherbert would be served in JDWolfePottery's gorgeous bowls.
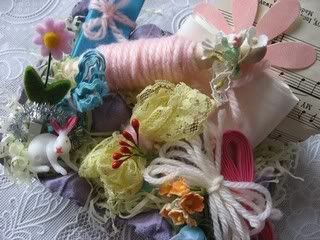
And finally, because this is MY party, we would all get out our craft goodies from Mykonos and make dreamy goodies...
Gloriously Green
Since I am new to the whole blogging scene, I have to backtrack my life just a little. I just had to brag about this cake I made for my husband's birthday. (The year is a secret). He is a video game-a-holic and he is actually, quite good! So I made him a Halo 3 cake, featuring none other than Master Chief.
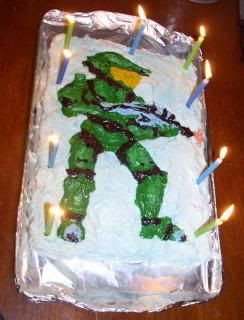
It was very time consuming, but actually quite easy. I just used yummy store bought butter cream frosting and food coloring. A simple note- the liquid coloring will only go so dark, use the gel or powder color to get a rich, deep shade. To copy your own picture for your cake, follow these steps:
1. Print picture out to fit cake.
2. Cut out main color differences in shapes and pin the pieces on the cake using toothpicks (think like a paint by number or puzzle).
3. Spread frosting over entire cake (except for the papered image.) The frosting will create a little.
4. Remove all paper pieces to be colored green... add green frosting to the exposed cake areas.
5. Remove all parts to be colored black... add black frosting.
6. Do this until each colored section is done. Use a small knife or toothpicks to gently push the frosting to the edge of it's color block section so it won't overlap another color. Then, use your black frosting tube to outline the shape.
7. I swirled in a bit of white frosting on the helmet, chins and other places to give a camoflauge and luster feel.
8. For the shading, I used a "spray paint" blue frosting to lightly give a shadow effect. It turned out quite nice!
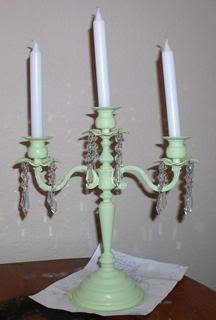
For my next green project, I took this badly tarnished silver plated candelabra that I got for my wedding, and gave it a little face lift. I lightly sanded it, and painted it about 3 coats of minty green that I mixed to acheive the perfect shade. I LOVE the results!!
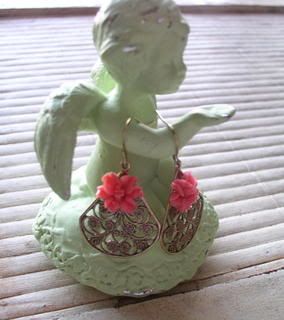
I had left over paint, and I just could not waste this color, so I painted a cute little metal angel figurine my brother gave me many years ago. It's holding a pair of my little brass filigree drop earrings with a sweet vintage coral lily. Cute, huh?
Monday, February 25, 2008
Already Behind
I love my kids! I love crafting!
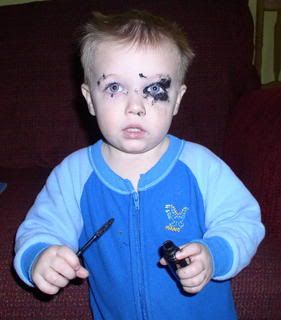
Unfortunately, the two don't always go together... My 2 year old is the most adorable and sweetest tornado you will ever see. One second of listing, photo editing, crafting, cooking... and my head is turned... I turn back and see a little catastrophe. I had high hopes for creating today, and this is what I see:
This is the 4th tube of mascara I've had to replace (oh and we're on lipstick tube 8 as well). And yes... I do keep my things locked and up high, he's just a little Houdini. As a make-up artist though, I do have to say I'm impressed with how he managed to get that grunge look directly on the eye without flinching.
Beginnings
I have been selling on Etsy for a little more than a year now. I absolutely love it and have been inspired by so many different things. I even made it to the front page a little while back with my red felt deer!
I love it so much in fact, that I am working on a new line of jewelry.
I am amazed at how expensive it is to get started with all of the different components and goodies, but I'm already in love with my stash (I try to trade for some supplies with other amazing Etsy sellers so I don't go completely broke).
You are probably thinking I'm nuts for adding MORE jewelry in a site that is already saturated with it, fierce competition and mega relisting... but it's just sooo fun! And hey, I get to wear new things too, yay! Now, I just have to retake all of my jewelry pictures (for the hundredth time) and create and list daily.
Check out my shops, Little Lovables where I sell little cute things like paper crafts, ACEO's, tutus, puppets, felt stuffies and my new shop Jeweled Ambrosia, vintage inspired jewelry and some vintage goodies!
Subscribe to:
Posts (Atom)