Showing posts with label vintage photos. Show all posts

Wednesday, September 15, 2010

Inspired Guest: Bret Pendlebury's Vintage Photo Art


I recently discovered Bret Pendlebury when creating my red and blue illustrations post. His work is simple, yet unique and those faces really stick in my mind. Before I ever read his blog, I thought to myself, "those remind me of vintage photos".


His photos focus on his vintage photo collection, primarily the 1930's, but he is open to custom work for portraits from photos of a role model, your parents, grandparents, family, and loved ones. And now, into houses.


He uses many different mediums for his work, ink, colored pencil and permanent marker, acrylics, watercolor, and his canvas is typically on a recylced material.


Some of his characters have a forlorn look, others are a bit more chipper. All unique and what I really want to know, is does he name them, or are those the names on the backs of the photographs, and will he ever sell prints?

 
From what he did share is this, "i was raised in coconut grove, a charming neighborhood on the bay in miami, florida. currently residing in the city of brotherly love, philadelphia, pennsylvania. i studied fine arts at new world school of the arts college. recently i have been creating portraits inspired from vintage photos i have collected. i'm influenced by simple raw beauty, traveling, nature & much more. I hope that my work inspires you."

Ruth Phillips

bret's:  shopblogfacebook fan page

Tuesday, April 27, 2010

Homefront: My Very Own Frame Wall


Remember my frame wall rant post? I bought tons of frames with the intention of painting them white and doing a nice gallery wall, and the pile sat there collecting dust, stressing me out, so I got rid of most of them. Here is what this space above my couch looked like before. I love the wrought iron circle I painted in a distressed aqua, and now it's over the tv.


Well... while I was at Goodwill the other day, I saw this lovely painting of this little Native American girl by Bettina Steinke. Really, isn't she just a precious doll? It was in some obscure aisle, and I picked it up and put it in my cart. I walked around some more, and decided, what am I going to do with it? So, I put her back in another obscure aisle (shame on me, I know).

An hour later (yes, when I go to Goodwill, it takes a few hours) I stumbled across this girl in another part of the store and I walked by. By the time I got to the frames, she had been brought back there. By this time, it kept getting harder to walk away, so for $3.99, I brought her home, and my son has named her Sammie.


I also brought home the embroidered flower photo, oil flower vase painting, raccon sketch and the automobile photos. I even put several things back, they just had tons of great vintage finds! Some frames I already had, so I filled them with bits of vintage maps and bookplates of flower sketches. I really need to add more family photos, but since this digital camera age has sprouted, I haven't printed photos off in ages! (sorry Grandma).


Since we will most likely be leaving this apartment in a few months, I figured, why hesitate on the frame wall? If we don't like it, we will be moving so who cares!

All I did, was lay the frames on the floor until I liked the arrangement. Then, I took a picture of it. I picked up the pictures from the ground and brought them up to the wall one by one and nailed them in. If I forgot how one went, I referred to my camera screen. Easy.


But... I love it. I'm so glad I did this. And when I showed everyone my frame placement floor layout ideas, you all persuaded me to make it grand instead of a smaller grouping like I intended. And really, with these high walls, the larger grouping looks best. Adding in the wood letters and smaller pieces helped close in odd gaps and hide nail holes I used when trying to get the placement right.

 
This post is linked to A Soft Place to Land's DIY Day!

Monday, April 5, 2010

Family Time: Easter Traditions


Growing up, my favorite Easter tradition, was leaving goodies out for the Easter Bunny at night, and waking up to find milky paw prints and half eaten carrots and cookies. I loved the goodies and egg hunt as well of course, but there was that wonder, was the Easter bunny real, was it a little cute bunny rabbit or a large rabbit like the mascot costumed ones? I imagined it to be somewhere in between. My husband said he imagined the Easter bunny to be similar to the Velveteen Rabbit. I like that.


My boys were just as excited as I remember being as a child, Isaac exclaiming, "The Easter Bunny ate the carrot!" , when he very first saw the table in the morning.


I hope everyone had an enjoyable, relaxing and spiritual Easter Sabbath. I love these words spoken by Jeffrey R. Holland, an apostle of The Church of Jesus Christ of Latter Day Saints about the true meaning of Easter, the short online video entitled, "None Were With Him".

To see more of our family's shenangians, visit the whole post on my family blog. In the meantime, enjoy some of my favorite childhood Easter photos in the early 80's.

My older sis and me, taken when we lived in Hawaii.

Love/hate relationship with this juliette style bonnet. So pretty, so uncomfortable... like jelly shoes.

Intensely studying a candy or decoration of some kind. Not much has changed! Love those chairs and the Little Orphan Annie table.


This is our dance performance, (talent show maybe?) We danced to Peter Cottontale and it was sung to a recording of a woman singing in a 1940's almost Betty Boop chipmunk style voice. Loved it! I'm the little one (again, as usual) and my big sis is on the right of me with her arms out. The best part of the routine was when we turned around and shook our bunny tails!

Thursday, July 30, 2009

Fancying Photos with Photoscape


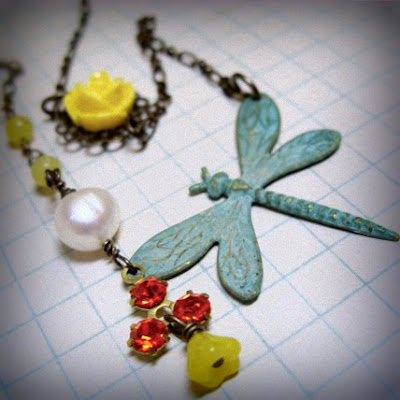
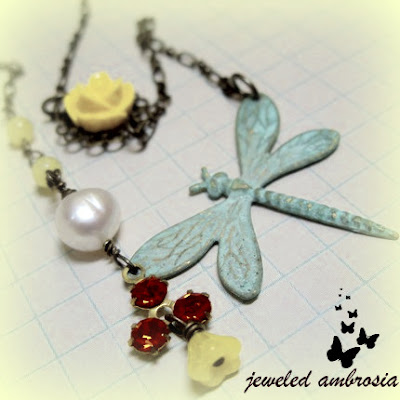
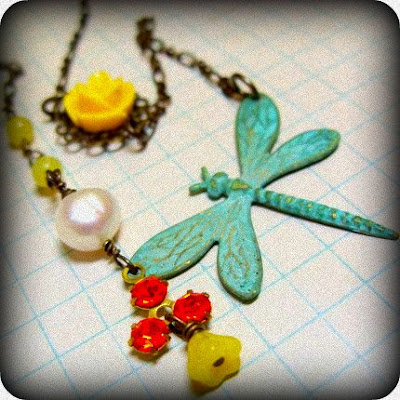
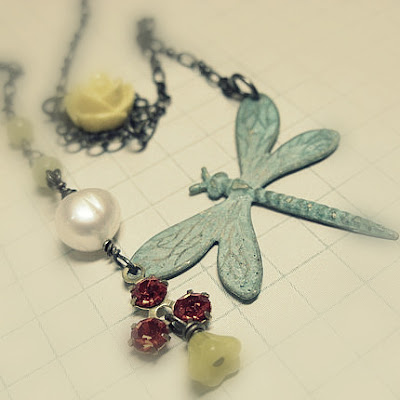
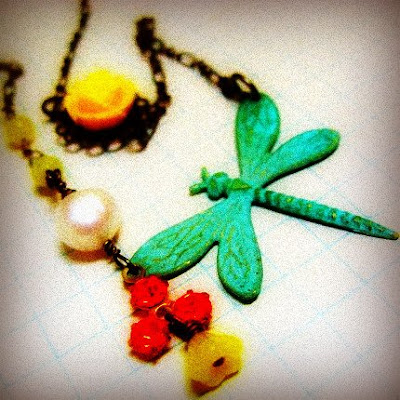
dragon fly necklace gussied up, click on photos to enlarge

In yesterday's post, I showed you some free photo editing with Picnik. Thanks to Cam, I discovered Photoscape, another free download photo editing program. I used the the pre edited picnik holga-ish photo of my dragonfly necklace from yesterday, to turn it into this beauty with Photoscape, with my youngest toddler in my lap the whole time! It took me less than 10 minutes to download the program and finish this photo. For now, this little program will help with my graphic design learning bug.


before, stand back boys, this lady is taken, beware, do not click on photo to zoom!

Now, I want to see what it will do with beautifying a blemished photo of a person (if you remember, Picnik does a great job of that, but you have to pay for that feature). So, I took this photo of me and Isaac when he was a wee one. Note the haggard skin. Aside from cropping, all I really wanted was to erase some hormone induced imperfections... no need to say the actual word, it may summon them back (like the "he who must not be named" HP fans)!


after

First, I used "mole" to individually clear those areas, then I went under "filter" then "smart blur" (clear skin). I first tried the "noise reduction (clear skin)" but it really made it look too freakishly anime-like airbrushed. So, I still look like me, not ultra perfect, but not as yuckified either. And there you have it!

I much prefer Picnik Premium (not free) for the human edits, but for the other fun stuff, Pissaca 3 is wonderful for basic touch ups, Picnik is a most excellent for enhancing with features and playing with exposures and photoscape is best for layering on the goodies (limited options, but still good).


Here is a glorified version of mommy and first born yet to be potty trained 3.5 year old love of my life son. (In case you are wondering, the "1" is for "first-born"... I was going to do his birthday, but got lazy, so there!)

Wednesday, July 29, 2009

Editing Your Photos With Picnik


holga-ish on my dragonfly necklace

Whether you have an online business and you would like to make your photos really pop, or you want to enhance your blog photos, or you enjoy photography as a hobby, or you just want to edit your family photos to make you look ultra hot, then you would love to try Picnik. It is a free program that is quite user friendly.


infrared film with yellow matte a signature and logo

Though only the basic edits are free, you still get some neat choices. I edited the same exact photo in this post using only the free tools for examples. Now, for basic editing, I really love Picassa 3 which is totally free does have lots of neat features and easy to use, but Picnik has lots of other features for more "play". You can really acheive the look of vintage photos, holga photography, and the style of film noir and a play on exposure that is just beautiful. Of course, this program is probably a nightmare to the true photographer that has studied and learned their own tricks and uses the lens and darkroom to capture these effects, but this is just for fun!


boost, vingette, 1960's round corners and a touch of film grain

Of course on the free version, you have limited uploads and for more advanced tools like "gritty" (so neat!), and photo editing for people, like eye and teeth whitening, sunless tanning, eye color brightening, red eye reduction, wrinkle softening, airbrushing, mascara highlighter!!, shine reducer... (wish I could get these and a belly roll reducer and a make dinner and do dishes tool in real life!). All of these tools are in the premium package that you have to sign up and pay for, but you can at least try them out (one at a time though) to see if you would like the investment.


touch of black and white, cross process and focal softening

I hope you have fun experimenting with your images. You can give your shop or blog an entire overhaul without ever having to retake photos. Unless your photos are very dark, overexposed, blurry or poorly staged, most can be saved with an artful flair with Picnik.


boost, filmgrain, vignette and orton-ish

Edited to add~
as you can see through my photos, the colors have changed drastically. For fun, artful purposes, this is totally acceptable and encouraged! But remember, if you are selling online you need to remember to keep the colors as close as possible to the real thing so that your buyers won't be mislead.

Related Posts with Thumbnails